Thursday, November 13, 2008

The wood pile

This may not be furniture but should be someday. This is about 1100 board feet of walnut, maple and cherry.


The wood is from the farm I grew up on in Michigan. There still one truck load left there that I'll get in December. Most of the wood is walnut. The logs on top of the stack are chestnut from a tree here in Winston Salem. As you can see below some of the walnut is 16.5" wide by 10' to 12' long.


Almost all this is cut at 8/4 thickness, so it will probably take about 2 years to dry. Most of it is also clear of any defects and has some pretty spectacular grain. Currently I'm a little over 800 board feet of walnut, and 200 of maple and 150 of cherry. Still more to come.


With all this lumber to store I went ahead and added storage space to the back side of the shop


The total size is 10' wide by 18' long. As you can see its built into the hill so I ended up doing a alot of digging there for awhile. So far its been very handy for storage, and my roofing job seems to be keeping it pretty dry.

Oak and Walnut Chairs


Here are two chairs made from Oak and Walnut. These chairs are a hybrid from chairs produced by George Nakashima and Sam Maloof. George Nakashima (and family) are famous for his two legged cantilevered chair, and the leg joinery and seat construction is based on Sam Maloof 's process. These chairs are great for a carpeted room since the feet act like ski's so the chair can slide up to the table very easily. Also since there are no front legs there very easy to get in and out of in a crowded space. I made a prototype of this style late last year so these are #2 & 3. These were completed in September.

Wednesday, November 12, 2008

Lacewood Rocking Chair

Another project I need to update, is the Lacewood rocker shown above. I had forgotten how dense lacewood can be, it machines and works alot like oak but this batch seemed much heavier and denser than I remembered.


The seat is made from 5 pieces cut at opposing angles and glued up. Prior to glueing the leg joinery is cut, and the seat profile is cut on the bandsaw. The seat is glued up using dowels for additional strength. The profile of the seat is completed using an angle grinder.


The legs for the chair are joined using a modified hip joint. These joints can be easily produced using a router. The back legs are at 3 degrees, while the front legs are perpendicular . The legs are rough cut on the bandsaw then finished using a template and a router.


The rockers and back slats are produced using bent lamination. I rip the stock to a thickness of 3/16" then using a male/female press I glue and clamp the pieces. After the glue has cured I shape the pieces using an angle grinder and hand rasps. Then its on to final assembly and sanding. Alot of sanding, then a hand rubbed oil and wax finish.

Monday, November 10, 2008

Kitchen Islands

These are several Kitchen Islands that I made for a clients new house. The Islands mimic the post and beam structure of the house. The Islands are 3' wide by 6" long with a 2" solid hard maple top and cherry and maple bottom. All three Islands are on 3" caster so that they can be moved to different spots in the house.

The top was edge glued using biscuits then cut to length and width. Using a plunge router with a 3/4" planer bit, and the jig in the picture I was able to "dish" the top out leaving a 1" rim a 1/4" high all around the top. The bottom frame was constructed of 8/4 cherry using mortice and tenon joinery.


The following picture shows the clamping and glueing of the base for the Islands.


To keep the base rigid the corner braces are morticed into the frame. All mortice and tenon joints are glued and pegged as well. The last part of the Island is a shelf on the bottom I made from maple and laid out in a grid work using half - lap joinery.

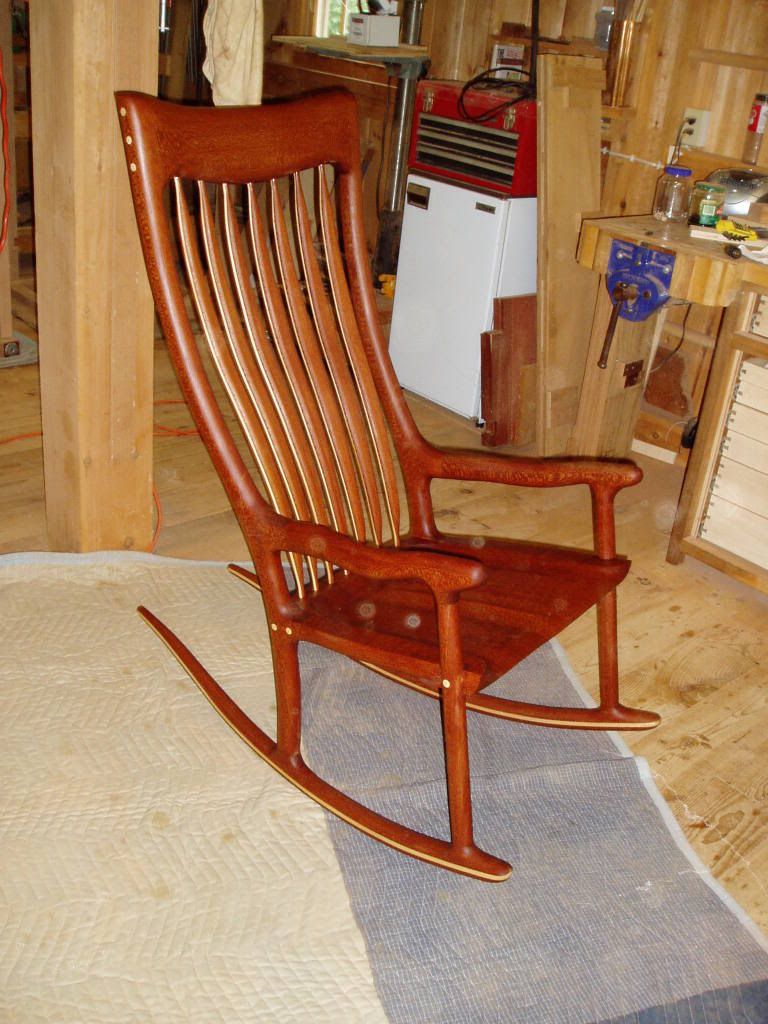
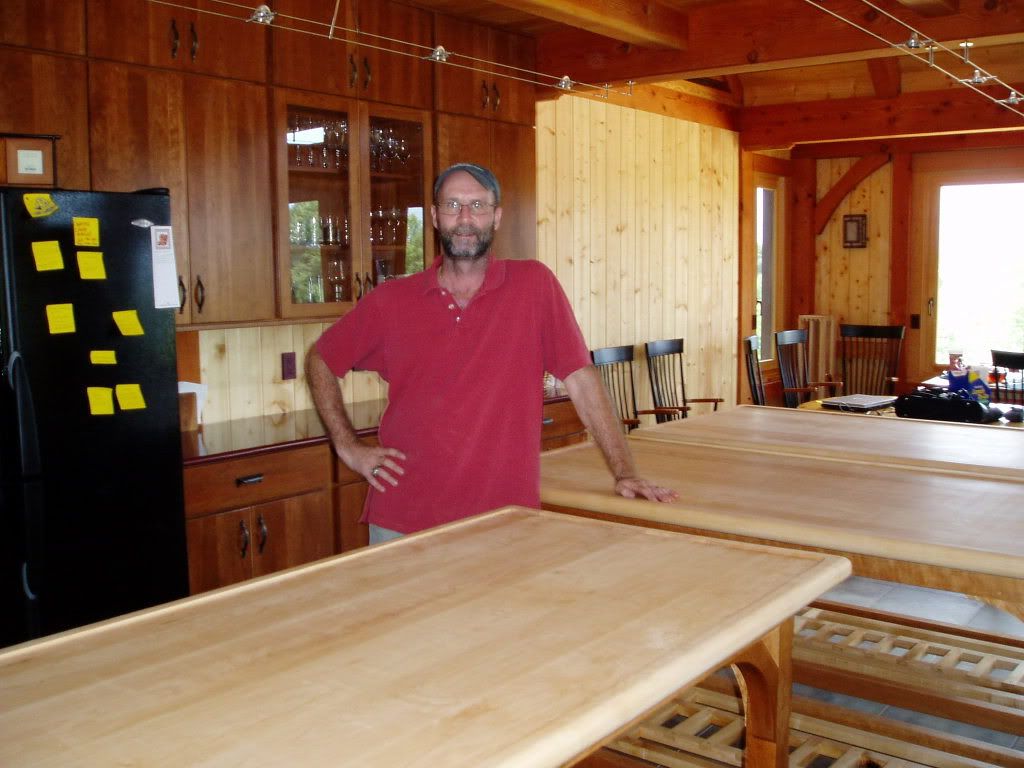
The top was finished using a "salad bowl" finish so its safe for food contact, and the base of the unit was finished using oil/varnish mixture and then an oil/wax mixture.

Tuesday, March 25, 2008

Lacewood Rocker


One of the projects this spring in the shop is a lacewood rocker. This is a lacewood rocker I made 4 years ago, and currently resides in northern California. We were fortunate to be out there two weeks ago, and I was able to get this picture of the rocker. The picture on the right shows the lacewood I was able to get for the current rocker project. Lacewood also sometimes goes by Silky Oak, and there is a wood out there called Leopard Wood that sometimes is confused with Lacewood. I've always purchased mine from a local supplier and have been very satisfied. I like to make sure and purchase all the wood for the given project at the same time since there is a varability in the color of lacewood from shipment to shipment. For a project like a rocker or a chair the width of the material is critical in order to minimize waste. For the seat of the rocker I need 5 pieces 24" in length by 4 1/8" in width the back legs need material a minimum of 8" in width. I was able to find stock that was 9.5" wide which would work great for this project.

One aspect of this project was to make some slight modifications to the rocker at the clients request. One modification was to increase the height of the back of the rocker, therefore requiring a new template. I keep all sorts of scrap plywood in the shop just for template. For the most part a new template evolves from a previous template as shown in this picture I'm using a previous leg template to make the new leg template.


In order to minimize the waste I like to layout the legs on a piece before I make any cuts, this also gives me an idea of what the grain pattern will be for the legs as well. From there I can start cutting out the pieces for the seat. As I mentioned earlier, the seat is where the rocker really starts, and everything else is milled and fitted to the seat. To make the seat
I use 5 pieces that are 24" x 4.125". However the sides are not cut at 90 deg to the face but at an angle of 3 deg. In effect this "coopers" the seat .


The picture on the left shows the 5 seat parts (left to right) there are other seats stacked below. On the front of the parts I like to mark the direction of the cut so as I rip them on the saw all the angles match up correctly. I use a simple wooden jig to set the saw blade (shown on the right).


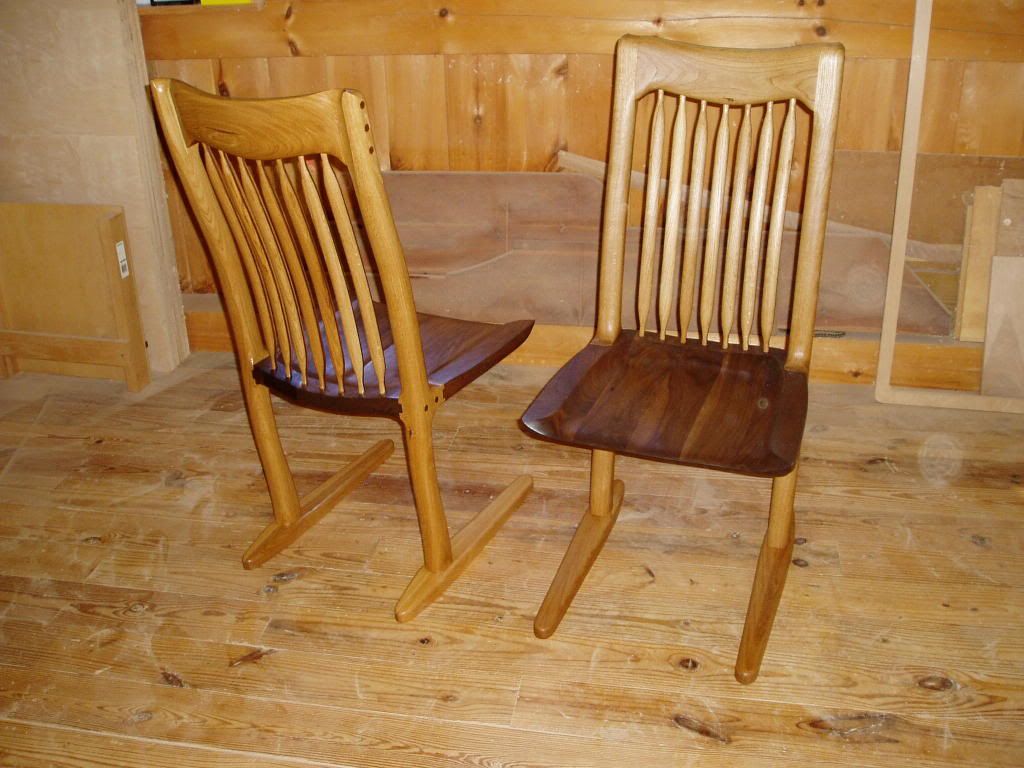
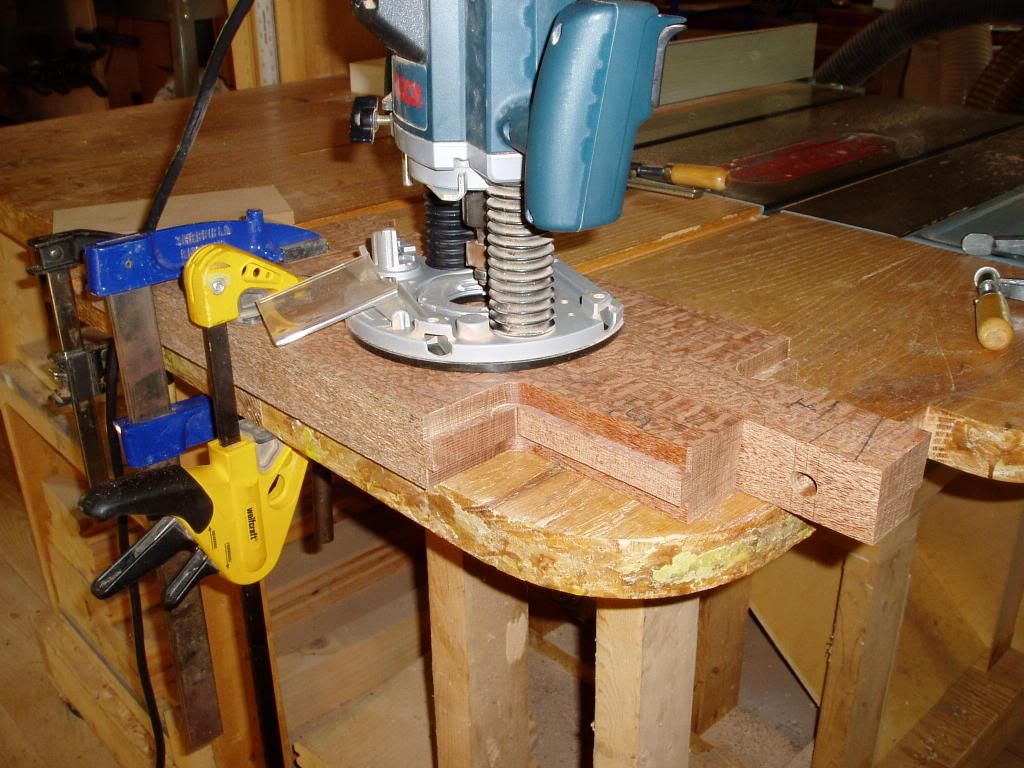
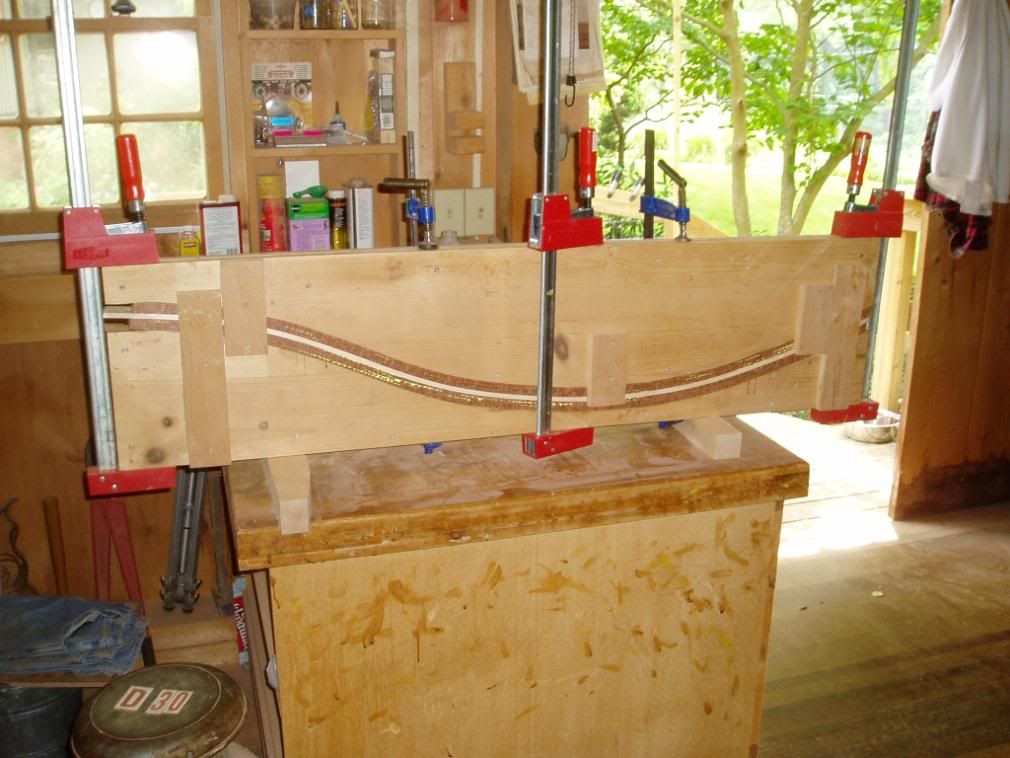
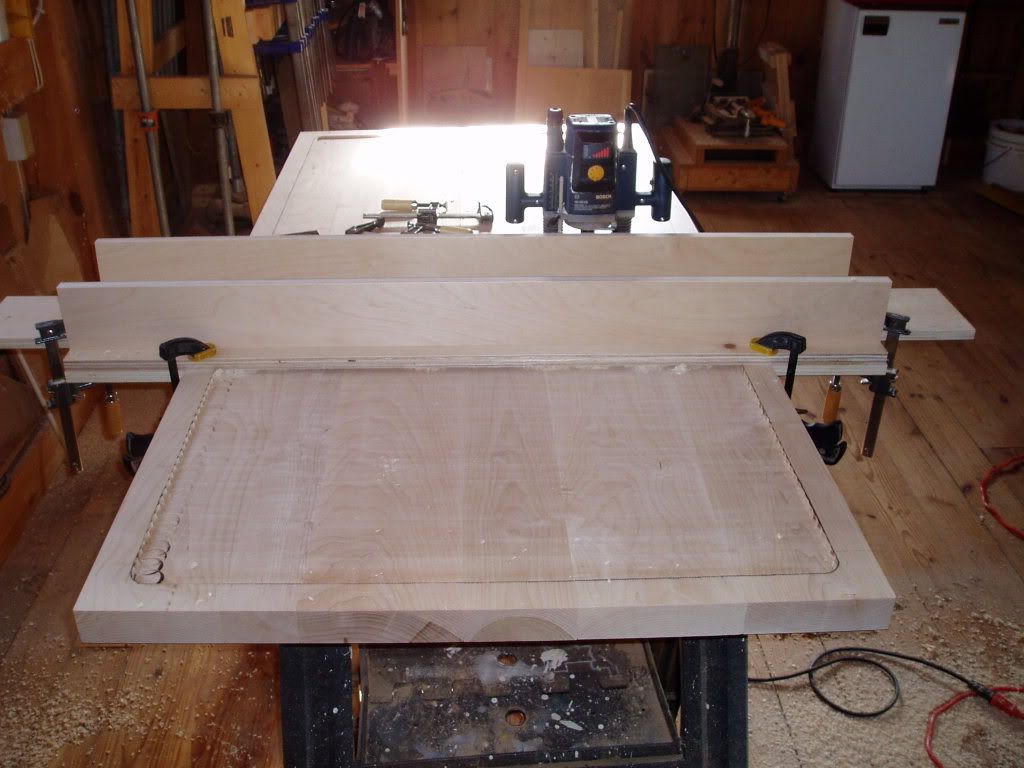
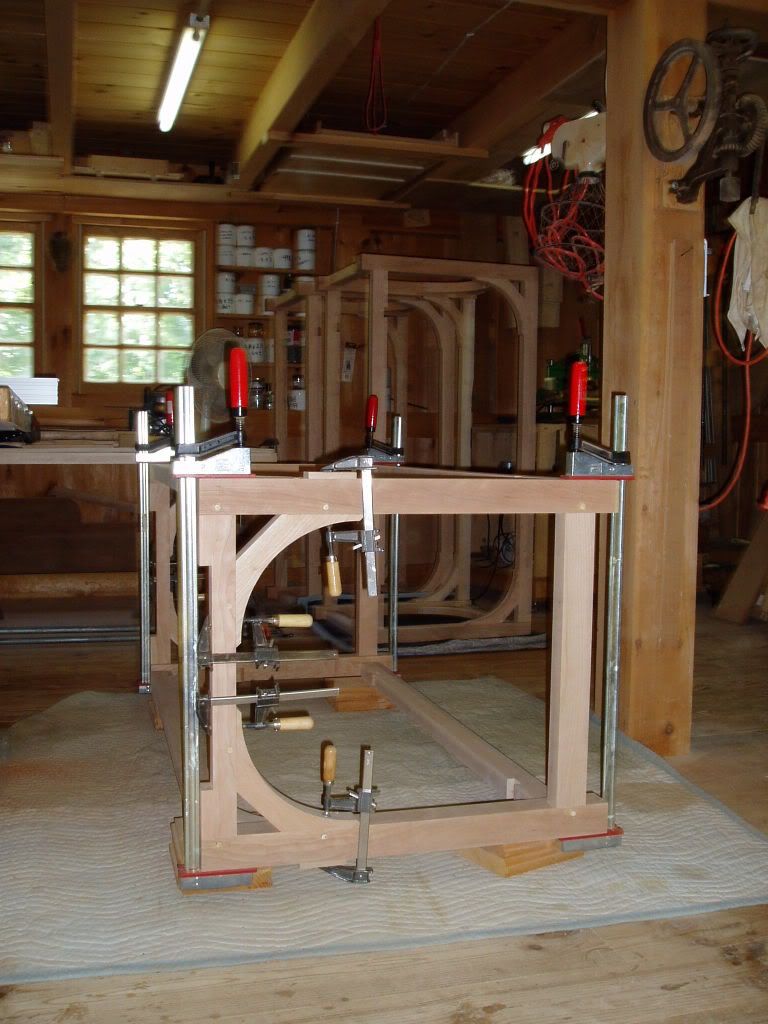
When all the parts a ripped to the corresponding angle direction and clamped together the seat profile is shown in the picture above. By cutting the parts this way it helps provide a contour to the seat that will be built upon later in the process. Since the table saw is set up, I'll cut the other four seats at this time as well. In the next installment of the blog I'll talk about what happens next to the seat, also I'll be discussing the next phase of the Kitchen Island as well.

Tuesday, February 19, 2008

Cutting and Glueing in the Snow

Here we are at the shop, pretty as a picture. This snow didnt last very long and turned the dog run into mud. Not good for a white english setter. So far we have been concentrating on the Kitchen Islands. The tops are being made out of 8/4 (2") thick hard maple. The base will incorporate 12/4 (3") cherry legs, and 8/4 (2") cherry for the cross members and corner braces. These islands are for a client with a post and beam house. The base will incorporate post and beam cons truction techniques, with the corner braces matching those in the house.


Glueing up the top which is 72" x 34" by 2" thick was a heavy and large undertaking. The legs were also a bit of a "large" undertaking. Since I don't have a power saw that will cut 3" thick stock I rough cut the material to length by hand. Then using the band saw I was able to cut them into 3" squares. Next up will be planing the legs square.


Here's a few more pictures of whats going on. Of course I need to show one more of the shop in the snow.

Monday, February 18, 2008

Welcome to Bradfordcustomfurniture


This blog will be about current projects I'm working on for clients here in the shop. Currently these projects range from Kitchen Islands, a Rocking Chair, and two Side Chairs. The purpose of this blog is to illustrate how I go about making commisioned pieces of furniture.